|
|


Extracting your hard drive | |||||||
| Step 1 > Step 2 > Step 3 | |||||||
| Step 2: Hard drive extraction | |||||||
| How to extract the computer hard drive? | Removal of a hard drive from a laptop computer | ||||||
1. First power down the P.C. 2. Remove the power cable. 3. Gain access to the computers electronics (usually via 4 or 6 screws on either side of the cabinet at the rear. (Refer to computer user manual). 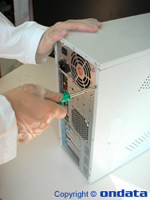 4. You will now see an array of cables and connectors (usually grey in colour). 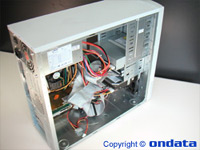 5. Locate the hard drive (usually a thin 1 inch/25 m.m. silver or black module, with a grey long connector called a “IDE 40 or 80 way connector) and a smaller 4 prong power cable (colour coded 2 black, 1 yellow and 1 red) going into it. 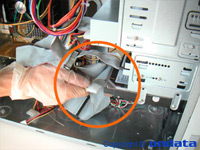 6. Disconnect the power cable, and the large connector from the hard drive. 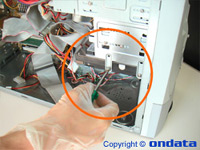 7. At each side of the hard drive you will have either 2 or 4 screws holding it in place, with a Philips, or flat head screw driver, unscrew the retaining screws. The drive should then slip out backwards from the bracket. In some computers the drive comes out of the front (please refer to user manual). 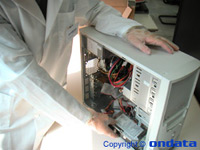 |
1. Locate the hard drive bay, usually found on the underside of the laptop (refer to manual). 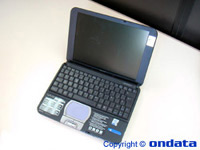 2. Remove the hard drive outer cover (one or two small screws). 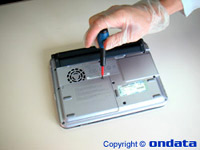 3. The small hard drive is usually seated into a housing, which in turn is connected to the main computer motherboard via an edge connector or small cable connector. 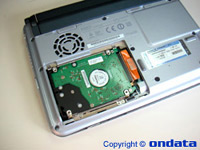 4. These connectors are very delicate (can be broken or bent easily). 5. The hard drive, should either lift and disconnect, or have retaining screws which need removing before the hard drive can be removed. 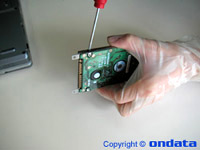 6. At this point it is very important to refer to the manufacturers manual if you are in any doubt whatsoever, as damage to the connector pins can result in your recovery being put at risk. 7. After the hard drive is removed, the housing should also be removed, leaving just the hard drive. It is this that we require. Keep the screws and hard drive housing in a safe place, as you will need them, when you replace the hard drive with a new one. 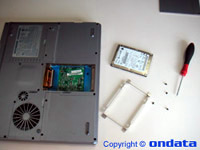 |
||||||
| Caution:
1) We would advise all clients to seek the assistance and advise from a qualified engineer, should they not feel fully confident in being able to carry out the drive extraction. |
|||||||
Our engineers are highly qualified in computer forensics. |
|||||||
|
|
|||||||
|
|
Legal Notice | General Conditions
Our engineers are specialized in data recovery after years of experience in the field of file recovery.
Trust us your data: nobody will do more to recover your lost files or damaged hard drive.